Last Updated on 15.11.2024 by hrushetskyy
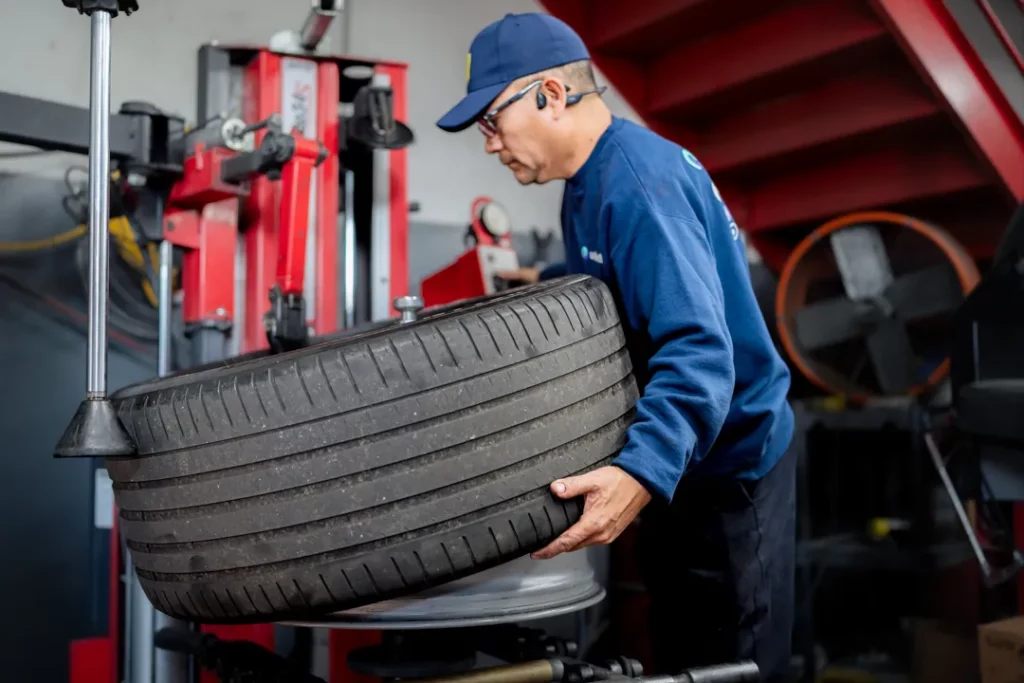
If you want to know how car tires are mounted, it’s best to learn from the experts! That’s why we’ve invited our mechanic to help with writing this post. It walks you through the step-by-step process of mounting tires and highlights the importance of changing tires professionally with the use of special equipment and procedures. After reading it, you’ll be equipped with all the information about mounting car tires.
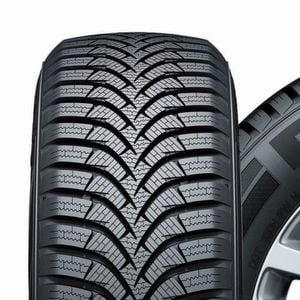
And if you’re in the Chicago area, feel free to visit one of our shops, where our specialists will mount your tires professionally! Call toll-free at 1-888-566-6214 to book your appointment. balancing machine wheel
The importance of professional tire mounting
Tire mounting is the process of removing and replacing tires on a vehicle’s wheels and axles. Mounting tires should always be performed professionally to guarantee the correct and safe installation and further road efficiency. Failure to do so can lead to improper tire positioning. As the official Yokohama Tire website states, failing to comply with the standardized procedure of tire mounting/wheel assemblies established by the U.S. Tire Manufacturers Association (USTMA) can lead to “serious physical injury or death.”
Moreover, the USTMA has issued separate guidelines for mounting different types of tires:
- Passenger and light truck tires
- Low aspect ratio, high-performance passenger and light truck tires
- Motorcycle tires
NOTE: When you buy new tires, remember to check the mounting costs—they can be included!
Essential tools and equipment for mounting tires
Tire bead lubricant
Rubber lubricants on tire beads reduce friction, aiding in easier mounting and proper seating on the rim. High-quality lubricants, often made from animal fats or vegetable oils, may include corrosion inhibitors as one of the ingredients. The right amount is key; too little can cause sticking, while too much may result in vibrations and slippage.
Inadequate lubrication often damages beads, leading to air leaks. Using the correct tire bead lubricant maintains bead integrity and ensures successful mounting.
Valve stem core tools
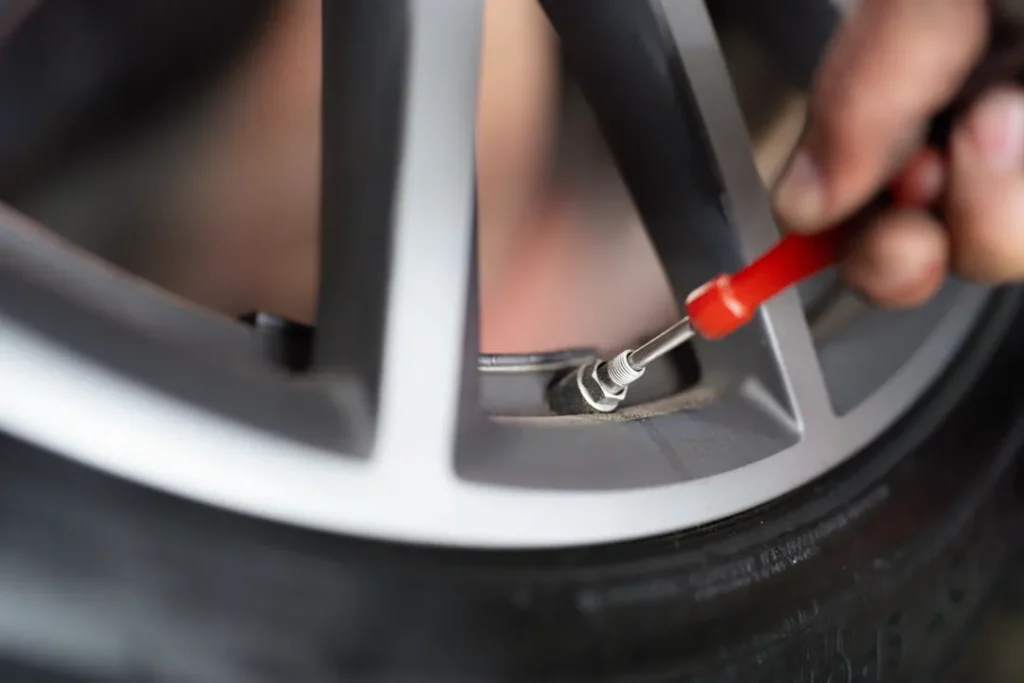
Valve stem core tools efficiently handle valve stems during mounting and inflation. Different types serve specific functions, such as removal and installation.
Using valve stem core tools correctly prevents leaks and ensures proper tire pressure. They are essential for maintaining tire integrity and performance.
Clamping bell
Some tire changers use a clamping bell that centers the wheel and retains the tire and wheel assembly with a tapered cone threaded onto the center post.
Inflation jets
Many tire changers have inflation jets in the clamping mechanism to supply air pressure to the inside of the tire and inflate it after it is mounted.
Side shovel bead-loosening tool
This optional feature facilitates dismounting and mounting tires on special applications such as motorcycles and ATVs.
Tire shop professionals always follow the operating procedures the tire manufacturer recommends to prevent damage to the tire or wheel. They also avoid using inappropriate tools, like a duckbill hammer, for bead mounting, which can damage tires and compromise safety.
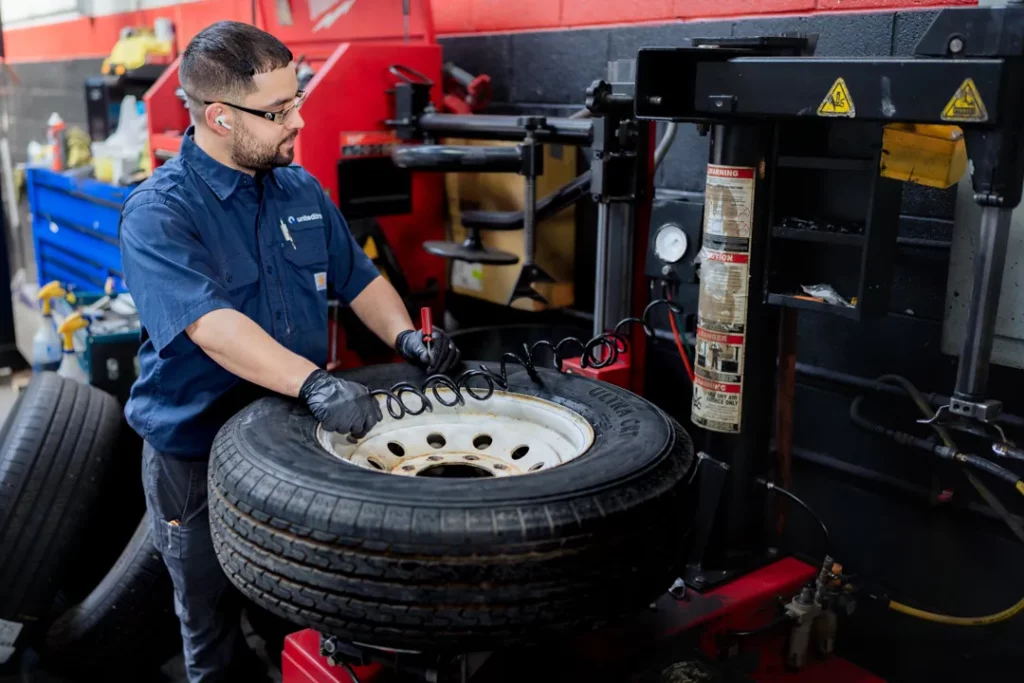
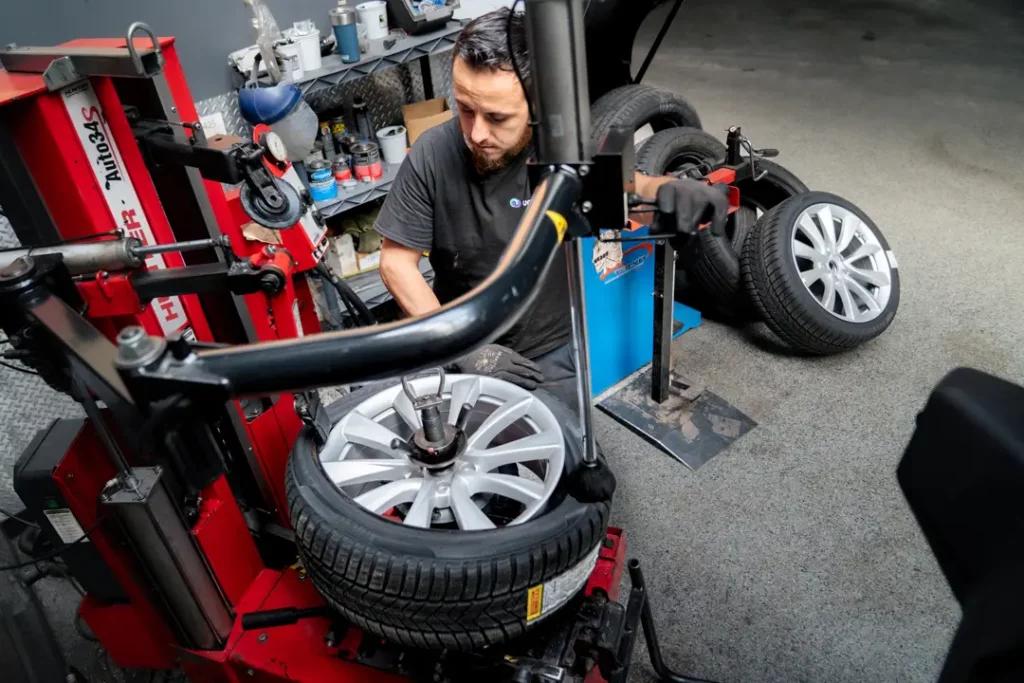
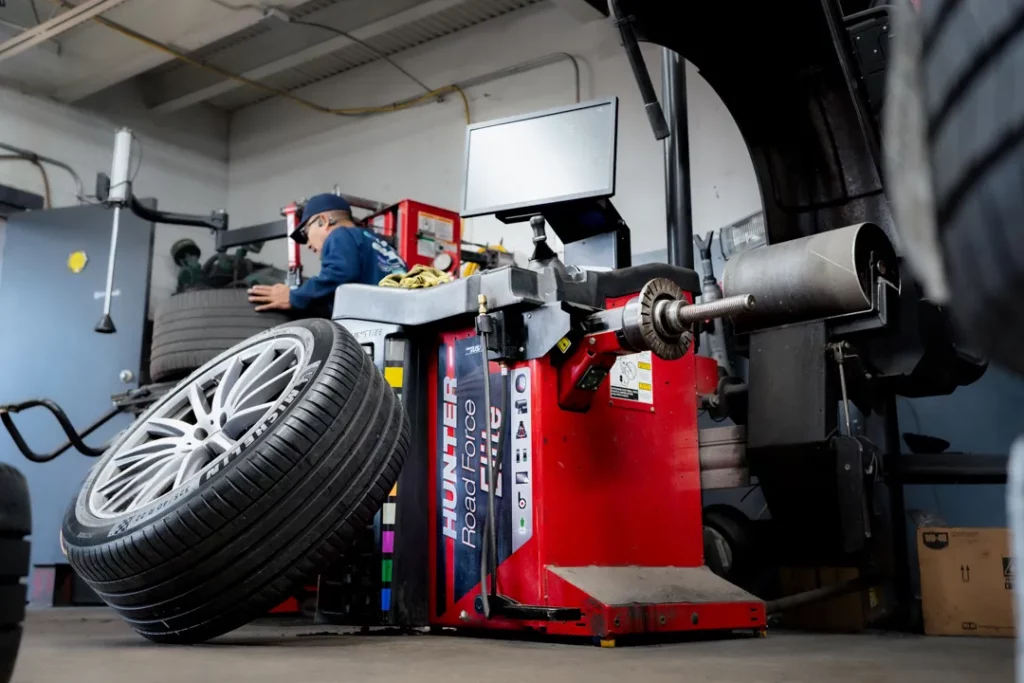
Tire mounting machine
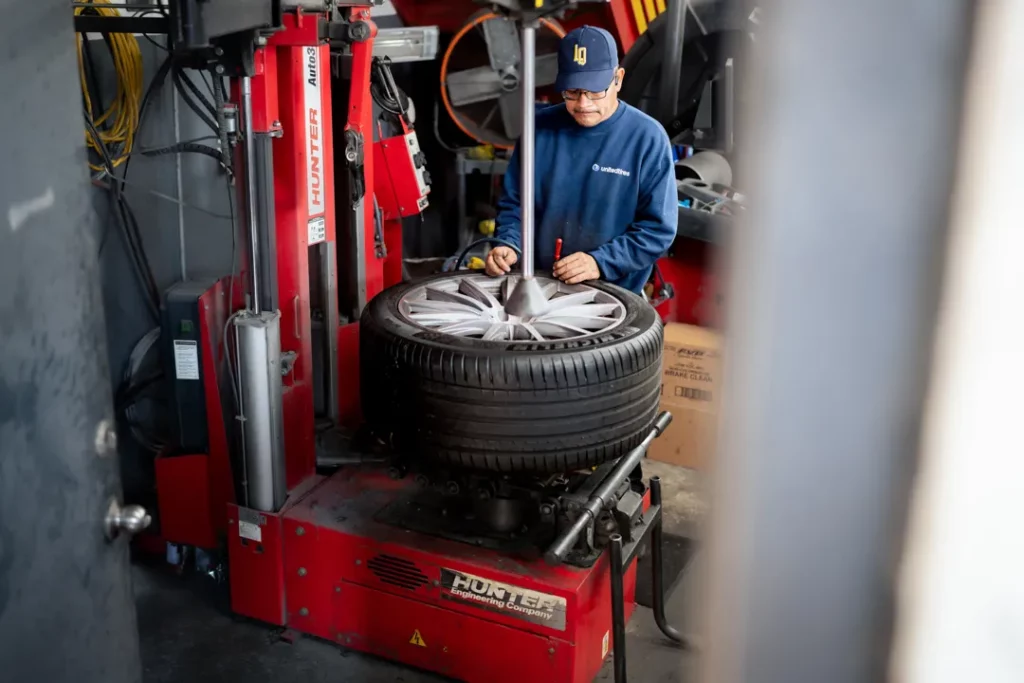
Tire machines may be different in design, but the main algorithm for using them is the same. It is important to make sure that the rim’s inner lip is smooth during mounting to prevent leaks and facilitate proper seating of the tire bead.
Below is the complete guide covering both the demounting and mounting of a car tire on a rim. If you’re only interested in the tire mounting process, you can begin at step 4 and skip ahead to step 10.
How car tires are demounted with a tire machine
- The tire is deflated by removing the valve stem core.
- The bead breaker of the automatic tire changer (tire machine) is placed on the tire as close to the rim as possible. The mechanic makes sure that the breaker does not touch the rim to avoid scratches and other damage, which could become problematic later when the car tires are mounted.
- The pedal is pressed to activate the bead breaker, and the tire is then rotated to perform the same action on the other side. Afterward, the tire is flipped, and the process is repeated on the opposite side. The tire is held tightly when the machine is activated, causing the tire to be pushed closer to the center of the rim.
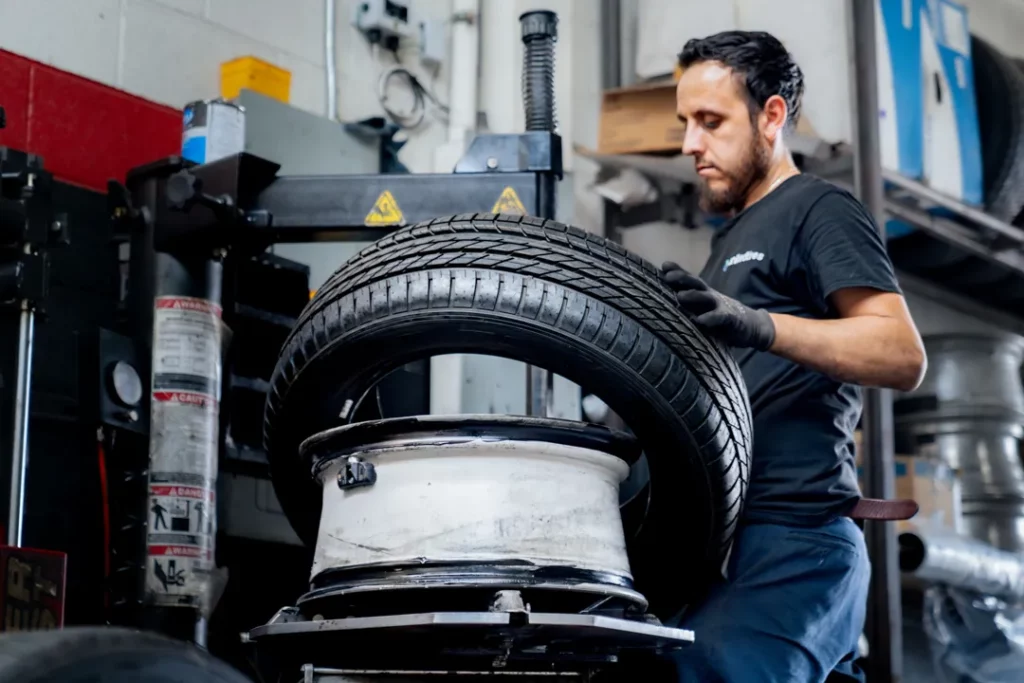
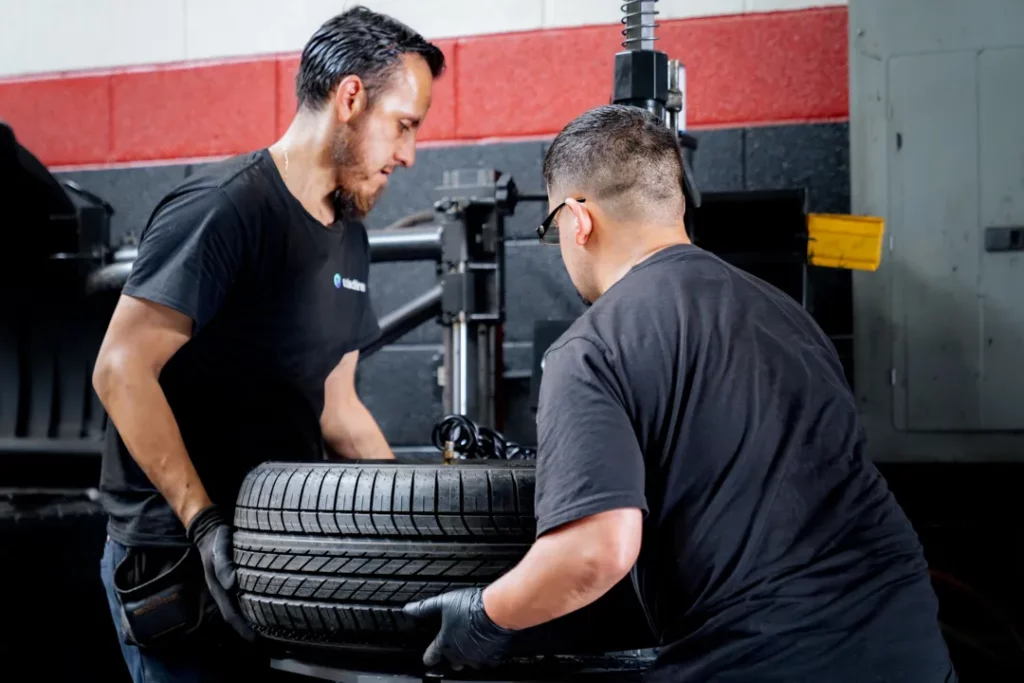
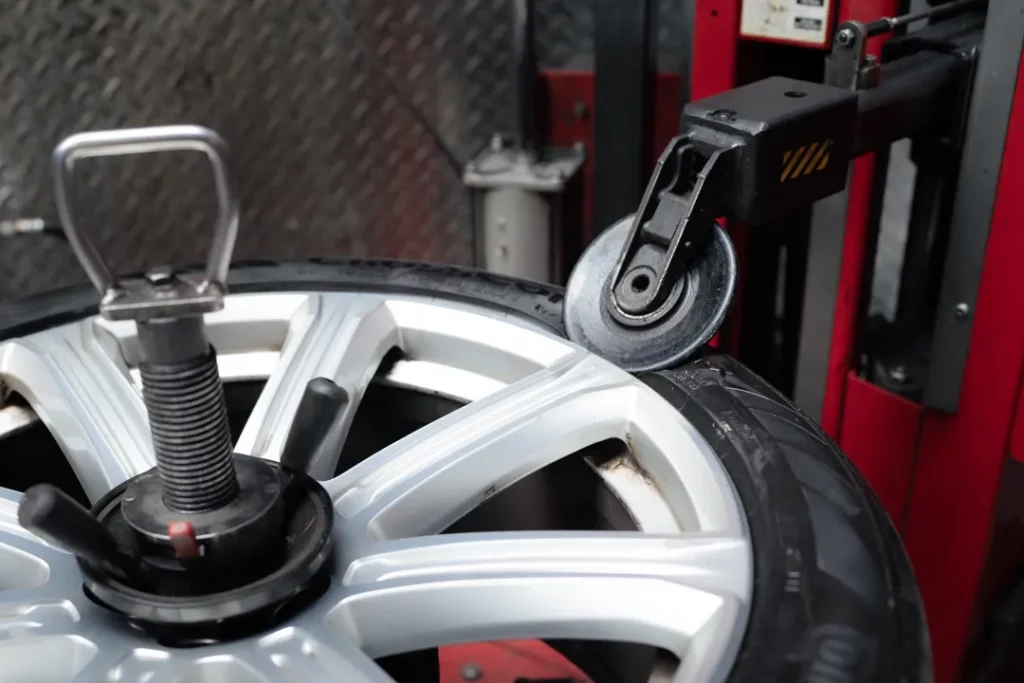
- The rim with the tire (or without it if the car tires are being mounted separately) is placed on top of the machine and secured in position with the jaws by pressing the pedal that locks them.
- The mount/demount head is positioned close to the edge of the rim and locked in place.
- The lever bar is inserted between the head and the tire, with care taken not to touch the rim edge to avoid bending it when pressure is applied.
- The bead is pulled off the rim slightly, and the pedal is pressed to rotate the turntable, resulting in one side of the tire being demounted.
- To demount the other side, the bar is inserted in the same manner, without touching the rim edge, pushed down toward the lower edge of the rim, and the tire is lifted slightly. The lever bar will then come out from the bottom side.
- Finally, the pedal is pressed to rotate the turntable, successfully demounting the tire. The mount/demount head (specifically, the arm it is attached to) is then moved out of the way, and the tire is removed from the machine.
How car tires are mounted with a tire machine
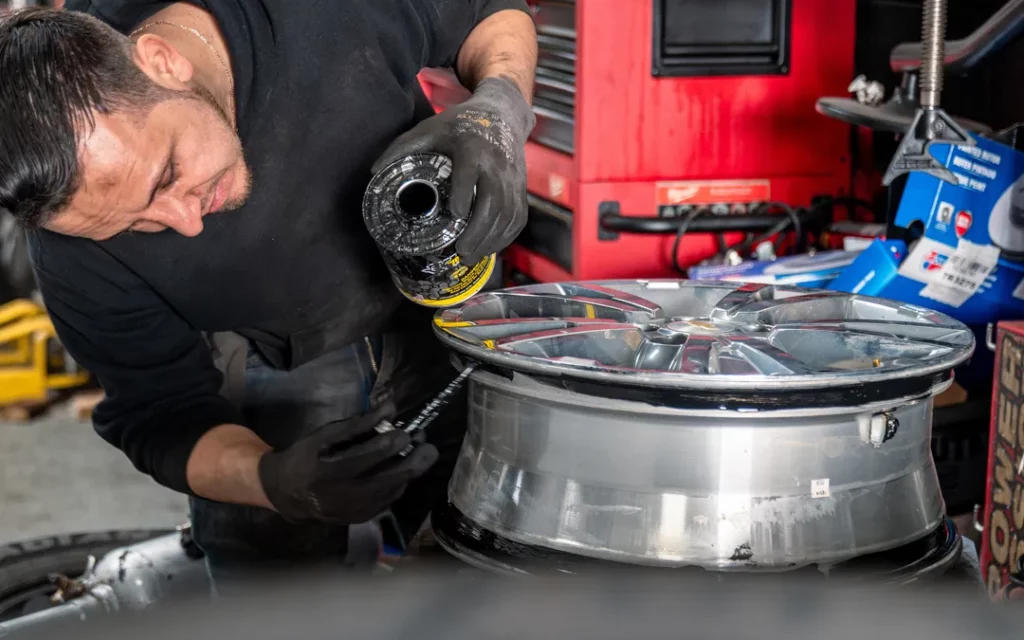
- Before tires are mounted, the tire bead and rim edge should be lubricated with a suitable substance. However, soapy water or grease should not be used. Soapy water isn’t slick enough, and grease can be difficult to clean off and may cause the tire to debead during sharp cornering. The ideal lubricant will be slick enough and dry out after mounting.
- The tire is then placed on the rim, and the mount/demount arm is swung back against the edge of the rim, positioned slightly farther than before.
- The tire is angled so that the lower bead is positioned diagonally toward the mount/demount element. It is important to maintain the correct angle as the car tires are mounted. Adjust the tire slightly to ensure it is correctly seated on the rim.
- The pedal is pressed to rotate the turntable, allowing the lower bead to sit on the rim.
- To mount the upper bead, it is placed in the same diagonal position, and the table is turned slightly until nearly half of the bead is seated. Pressure is applied to that half so the tire moves down the drop of the rim, and the table is turned little by little until the tire is fully seated. The knuckles may be used to assist. Care should be taken to avoid damaging the bead by not pushing the tire down far enough.
- The arm is then released and returned to its initial position.
- Air pressure is used to seat the bead. Regardless of how car tires are mounted, the bead doesn’t always sit on the edge of the rim immediately. A hose is attached to the valve stem, and the pedal is pressed to activate it. Popping sounds will be heard as the bead securely fits onto the rim’s edge.
- The jaws are then released, the valve stem core is reinstalled, and the tire is inflated to the recommended pressure. The machine’s gauge will display the current inflation rate.
- Finally, it may be necessary to check for any air leaks in the tire.
This method will take 5-10 minutes if everything is done correctly. Please check the video of how we mount tires in the UTires shops.
Should tires be balanced after mounting?
Yes. Balancing the tires before driving is the final step after mounting them. Tire balancing helps the weight to be evenly distributed within the tire. This imbalance isn’t a manufacturing defect; many tires have slightly stiffer areas. Small weights are placed on the rim opposite the stiffer spot to correct this. Just like the spin cycle of a washing machine evenly distributes clothes in the drum to avoid vibrations, balancing tires prevents vibrations and potential problems during operation.
The main sign of tire imbalance is vibration at 45 mph or higher speeds. If not corrected, this can lead to uneven and premature tire wear and potential damage to wheel and suspension components, which could wear out faster or become irreparably damaged.
NOTE: Don’t confuse tire balance and wheel alignment. Both processes are essential for tire longevity and safety and should be performed after mounting new tires. However, they serve different purposes: tire balancing addresses weight distribution within the tire, while wheel alignment deals with the angles at which the suspension is positioned.
Tire balancing methods
There are three main methods used to balance tires at a tire shop, regardless of how the tires are mounted:
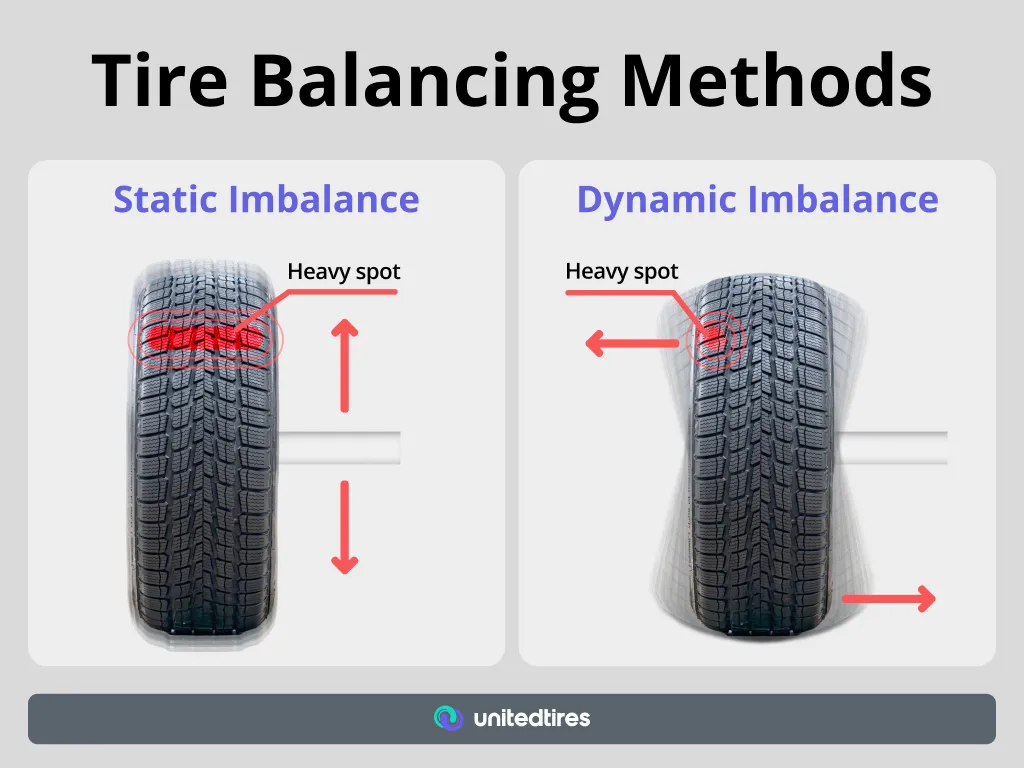
Static balancing
This method involves balancing the tire on a single plane (imagine the tire as a flat disc). The tire is placed on a supporter or a bubble balancer. The heavier areas of the tire will cause one side to tilt, and small weights are added opposite these spots to achieve balance.
Dynamic balancing
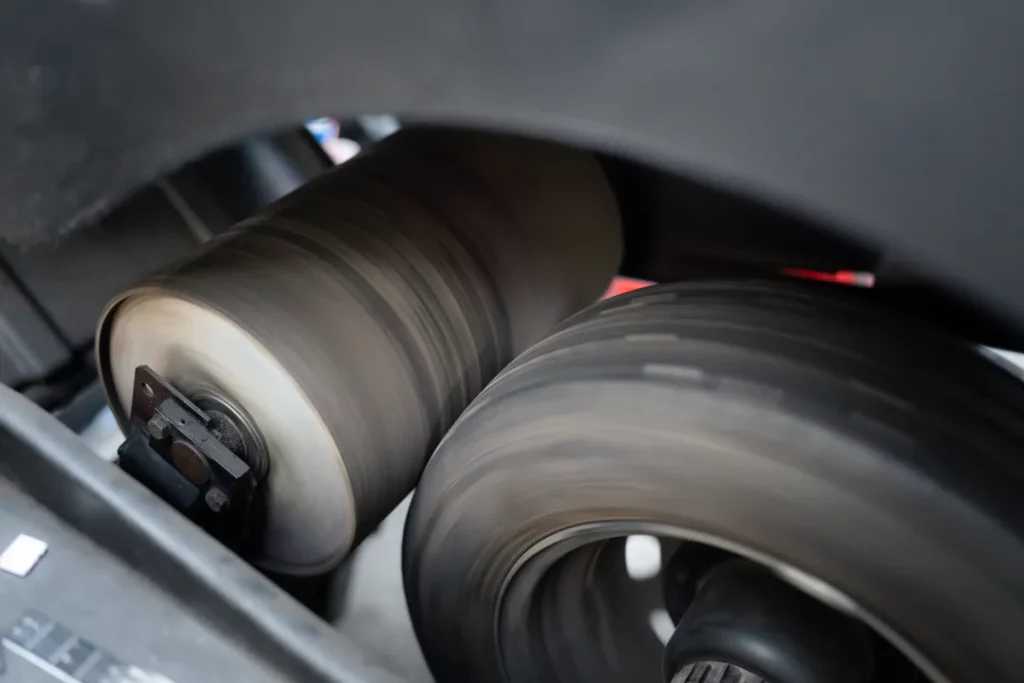
This method uses a computerized balancing machine to balance the tire on multiple planes (side-to-side and up-and-down). The tire is spun at 10 to 60 mph speeds, and the computer detects any weight imbalances. The machine also indicates how much weight is needed to balance the tire. This precise method can help prevent the need for additional balancing after your tires are mounted.
Road force balancing
This method simulates real driving conditions and provides the most accurate results. The tire is placed on a balancing machine, and a roller presses against it with a force equivalent to the vehicle’s weight. Sensors then measure the pressure around the tire’s circumference and identify any irregularities.
Tire mounting and balancing cost

Mounting and balancing car tires typically costs between $13 and $45, depending on the tire shop or dealership and the type of tire. Low-profile or run-flat tires are generally more expensive to mount and balance than regular touring tires. Tire size also plays a role, with off-road tires costing more to mount and maintain than smaller, standard tires. Before performing the balancing, the technician will run diagnostic tests to identify the imbalance of the installed tires.
Common mounting and balancing mistakes and how to avoid them

Whether you’re a driver looking to do it yourself or a tire shop worker, there are crucial mistakes to be aware of before mounting car tires. These mistakes can be easily overlooked but may lead to significant issues.
Failing to recognize tire-wheel assembly peculiarities
Before working with any tire-wheel assembly, it’s essential to understand its specific features, such as TPMS (Tire Pressure Monitoring System) and run-flat technology. Ignoring these can damage the TPMS sensors or compromise a run-flat tire during mounting.
Improper handling of reverse-mount wheels
Reverse-mount wheels are becoming increasingly popular, but mishandling them can damage them. Scratches on chrome wheels, for example, can quickly turn into corrosion.
Incorrect use of the bead breaker
Placing the bead breaker too close or too far from the tire or rim can damage the tire plies or cause the wheel to bend or scratch.
Not using lubricant or using the wrong type
Lubricant is crucial to prevent damage to both the tire and the wheel. Applying lubricant to the tire-rim connection is often recommended, even when demounting. Using the wrong lubricant can lead to wheel corrosion or cause the tire bead to slip.
Mishandling lever bars
If the lever bar slips, it can damage the wheel, harm any integrated technology, or rip the tire bead. Depending on the extent of the damage, repairs could cost up to $2,000.
Frequently Asked Questions
Why is proper tire mounting important?
Proper tire mounting is an essential factor in road safety. It increases tire performance and lifespan and helps prevent issues like uneven wear and blowouts, reducing potential hazards.
What tools are essential for mounting tires?
Essential tools for mounting tires are a tire mounting machine, tire bead lubricants, and valve stem core tools. When utilized effectively, these tools ensure proper and safe installation and enhance safety and efficiency in the tire mounting process.
How do I avoid damaging tire beads during mounting?
To avoid damaging tire beads, utilize proper mounting techniques, apply tire bead lubricants as needed, and refrain from using excessive force during installation. This approach will help ensure a smooth and safe tire mounting process.
What is the difference between spin balancing and road force balancing?
Spin balancing corrects tire imbalances by adjusting weights for smooth driving, while road force balancing simulates real-world conditions to identify tire and wheel assembly problems, improving overall ride quality.
Why should I check for rough patches on rims before mounting a tire?
Checking for rough patches on rims is essential to ensure a proper seal and prevent air leaks, which can compromise tire integrity. Addressing these areas before mounting a tire can significantly reduce the risk of tire failure.
Share the Knowledge